


Buttermilk Fried Chicken (Crispy Every Time)
If you’ve been searching for a crispy fried chicken recipe that actually delivers shatteringly crunchy coating, juicy meat all the way through, seasoned down to the bone — this is the one.
Crispy fried chicken is one of those dishes that sounds deceptively simple until you’ve made a disappointing batch: coating that slides off in the pan, a crust that’s crispy for three minutes before going soft, meat that’s either dry or didn’t fully cook through. What changed things for me was slowing down and learning why each step matters — why you season the flour in addition to the chicken, why you let the dredged pieces rest before they hit the oil, why the temperature of that oil is completely non-negotiable.
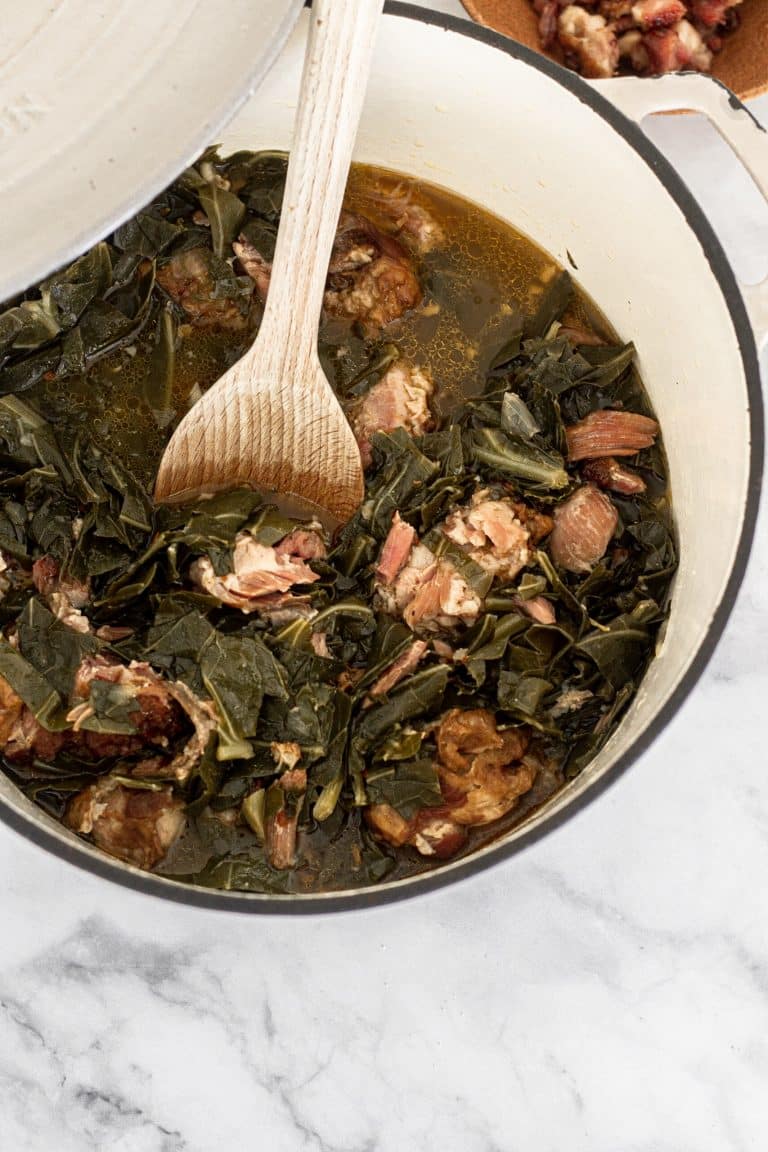
This recipe is the result of a lot of batches, careful tasting, and paying close attention. It’s become the one I reach for when I want to feed people something that feels like real effort and love, because it is. This delicious fried chicken served with my Collard Greens, Creamy Baked Macaroni and Cheese, and Cornbread with Honey Butter, is truly southern comfort.

Why you’ll love this Crispy Fried Chicken recipe
This isn’t just another fried chicken recipe. It’s the kind that makes people go quiet at the table.
Ingredients you’ll need
(The full recipe is in the recipe card below)

For the Chicken & Marinade
- Chicken — drumsticks and thighs are my favorite; dark meat stays juicy under the heat of frying, but this recipe works the same for wings as well. You can also use a whole chicken and break it down into pieces.
- Buttermilk — the lactic acid tenderizes the meat and helps the coating cling
- Hot sauce — adds flavor and a gentle heat; not enough to make it spicy, just enough to make it interesting
For the Dry Seasoning
- Kosher salt — seasons the meat from the inside out
- Black pepper — warmth and depth
- Smoked paprika — color and a subtle smokiness
- Garlic powder — savory backbone
- Onion powder — rounds out the garlic, adds sweetness
- Optional spices – garlic salt and cayenne pepper
For the Flour Coating (what makes this fried chicken extra crispy)
- All-purpose flour — the base of the crispy coating
- Cornstarch — the secret to a lighter, crunchier crust that stays crispy as it cools
- Dry seasonings — season the flour with the same spice blend so the coating has flavor, not just crunch
For Frying
- Neutral oils — neutral flavor and a high smoke point make it ideal for frying; vegetable, peanut, and canola oil work best
How to Make Crispy Fried Chicken recipe??
Season the Chicken
Pat the chicken pieces completely dry; this is important. Moisture is the enemy of a crunchy crust. Add the chicken to a large zip-lock bag along with all the dry seasonings. Close the bag and shake and massage until every piece is evenly coated.


Marinate in Buttermilk
Pour the buttermilk and hot sauce into the bag with the seasoned chicken. Seal it, give it a good mix, and refrigerate for at least 30 minutes. For best results, marinate for 4–8 hours or overnight.


Make the Flour Mixture
In a large bowl, whisk together the flour, cornstarch, and about 1 tsp each of the same spices you used on the chicken. This step matters — unseasoned coating is a missed opportunity for maximum flavor.
Dredge the Chicken
Remove the chicken from the fridge. Using tongs, lift each piece from the buttermilk (let the excess drip off, but don’t shake it off completely; the wet coating helps the flour stick) and press it generously into the flour mixture. Coat well on all sides.
Place each dredged piece of chicken on a baking sheet fitted with a wire rack. Let the chicken rest for 30 minutes at room temperature. This allows the flour to hydrate and fully adhere to the chicken — skipping this step leads to a coating that slides off in the pan.


Fry the Chicken
Heat the oil in a large cast-iron pan, Dutch oven pot, or deep skillet over medium-high heat. The oil should reach 350°F before you add the chicken — use a thermometer. Hot oil means the coating sets fast, sealing in moisture and preventing a greasy crust.
Add the chicken pieces carefully, skin side down. Don’t overcrowd the pan; work in batches if needed. Fry until golden brown on both sides, about 7-9 minutes per side. If frying larger pieces, 8-10 minutes.


Cook Through
Once both sides are golden, lower the heat, cover the pan, and cook for another 10–15 minutes, until the internal temperature of the chicken reads 165°F on a meat thermometer. If frying in batches, bring the oil back up to 350°F before adding the next round.
Drain and Rest the Chicken (it should be golden & crispy)
Transfer the chicken to a wire rack set over a baking sheet or simply drain on paper towels. Let the fried chicken rest for about 10 minutes before serving.

Frequently Asked Questions
Here are some answers to your FAQs, but if you have any other questions, please ask away in the comments.
Tips for the best crispy fried chicken

Equipment
- Ziplock
- Medium bowl
- Skillet or frying pan
- Baking sheet
- Wire rack
- Meat thermometer
Ingredients
- 8 pieces Chicken I used drumsticks and thighs
- 2 tsp kosher salt
- 2 tsp black pepper
- 2 tsp smoked paprika
- 2 tsp garlic powder
- 1 tsp onion powder
- 1½ cups buttermilk
- 2 tbsp hot sauce
- 4 cups Canola Oil vegetable or peanut oil is fine, too
- 2½ cups all purpose flour
- ½ cup cornstarch
Instructions
- Pat the chicken completely dry with paper towels. Add to a large zip-lock bag with all the dry seasonings, seal, and shake and massage until every piece is evenly coated.2 tsp kosher salt, 2 tsp black pepper, 2 tsp smoked paprika, 2 tsp garlic powder, 1 tsp onion powder, 8 pieces Chicken
- Pour the buttermilk and hot sauce into the bag. Seal, mix well, and refrigerate for at least 30 minutes or up to overnight for best results.1½ cups buttermilk, 2 tbsp hot sauce
- Whisk together the flour, cornstarch, and about 1 tsp each of the same spices used to season the chicken in a large bowl.2½ cups all purpose flour, ½ cup cornstarch
- Remove the chicken from the fridge. Using tongs, lift each piece from the buttermilk, letting the excess drip off, then press firmly into the flour mixture, coating well on all sides. Place on a wire rack set over a baking sheet and rest for 30 minutes at room temperature.
- Heat the oil in a large pan or Dutch oven to 350°F. Add the chicken skin side down, working in batches; don't overcrowd. Fry until golden brown, about 5–7 minutes PER SIDE, then lower the heat, cover, and cook for another 10–15 minutes until the internal temperature of the chicken reads 165°F. Bring the oil back to 350°F between batches.4 cups Canola Oil
- Remove the chicken from the grease and drain on paper towels. Let the fried chicken cool for about 10 minutes before serving, and enjoy it with your favorite sauces and sides.
Notes
Reheating and Storage:
- Store in an airtight container in the refrigerator for up to 3 days. This can also be wrapped in foil or a storage bag.
- Reheat on a wire rack in a 375°F oven for 10–12 minutes. You can also reheat in the air fryer at 400 degrees for 8-10 minutes, depending on the size of the chicken. You can certainly reheat the chicken in the microwave; it won’t be crispy, but it will still be flavorful.



I made this chicken for dinner tonight and it was THE BEST chicken I’ve ever made. The flavor and the crunchy texture is just what I wanted. Definitely making again. Thank you!!